There’s “blonde hair”… and then there’s bronde — that soft, believable mix of blonde and brown that looks expensive because it has dimension.
The difference is rarely just the colour.
It’s the base hair.
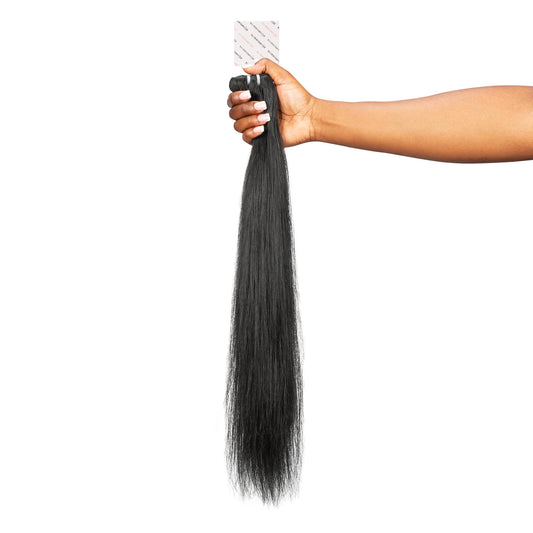
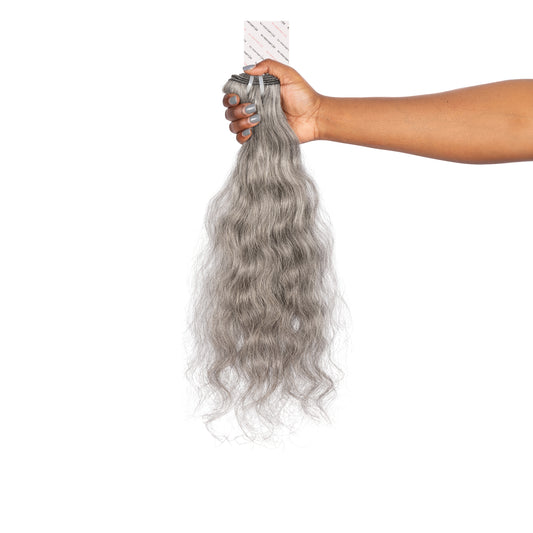
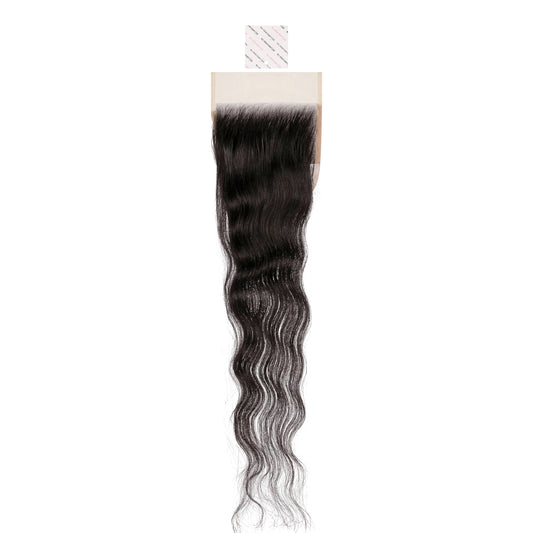
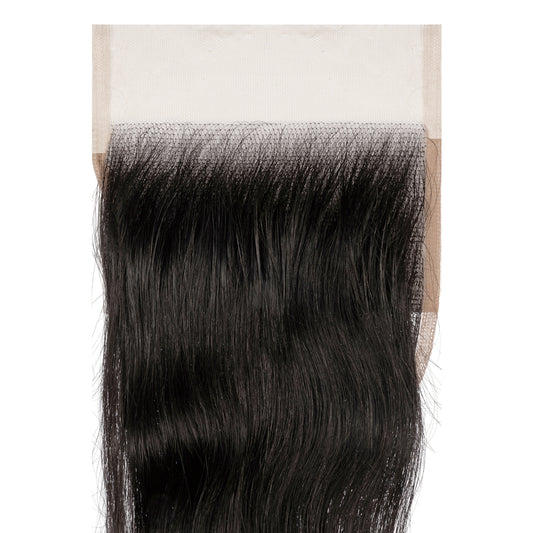
When your extensions are truly raw, the hair behaves like hair: it lifts, tones, holds shine, and still moves naturally when you’re done. That’s exactly why we love Vietnamese raw hair for colour work — especially for special occasions (weddings, birthdays, events, holidays) where you want the finish to photograph beautifully in real light.
In this post, I'm sharing our exact Schwarzkopf BlondMe bronde recipe — the same method I used to colour 2×16” Vietnamese raw bundles into a bronde shade, while keeping a darker root for the cleanest leave-out blend.
Why Vietnamese Raw Hair Is Amazing for Colouring
If you’ve ever coloured extensions and felt like the hair immediately looked dry, dull, or “processed,” you’re not alone. A lot of hair marketed as “raw” isn’t actually raw — it’s often been treated, coated, or processed in ways that make it harder to lift and tone evenly.
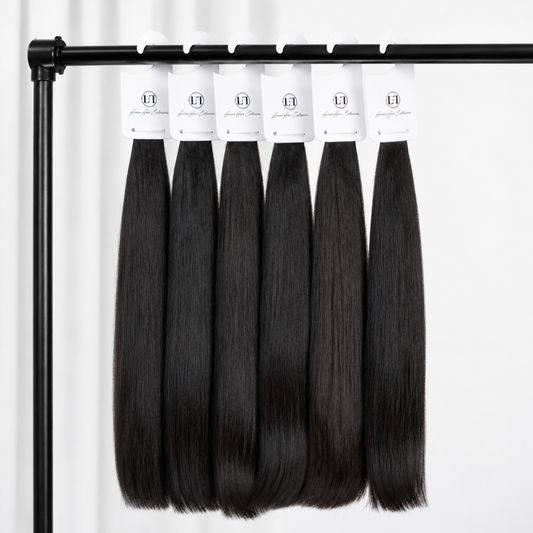
Genuine Vietnamese raw hair is a favourite for colouring because it’s known for:
- Strength + density: it can handle a colour process better (when done correctly)
- Natural lustre: the hair still reflects light after toning
- Soft movement: it keeps that “real hair” swing
- Rewear value: you can style it again and again (it’s an investment)
Bronde only works when the hair can hold both tones without turning flat. Raw hair gives you that.
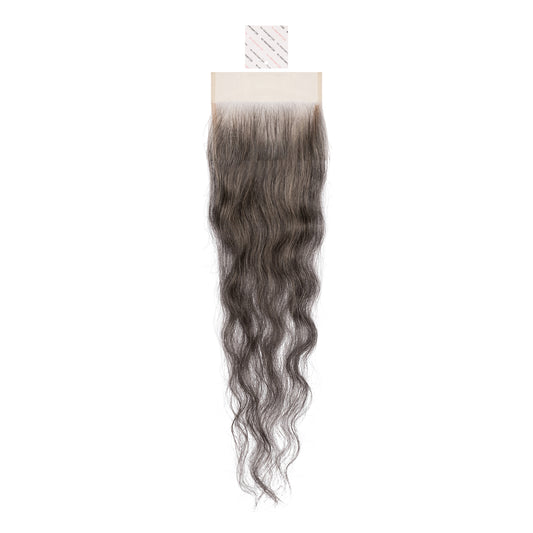
The Look We Were Going For: Bronde With Dark Roots
Bronde = blonde + brown tones blended together.
Not streaky. Not flat. Not “one-tone blonde.”
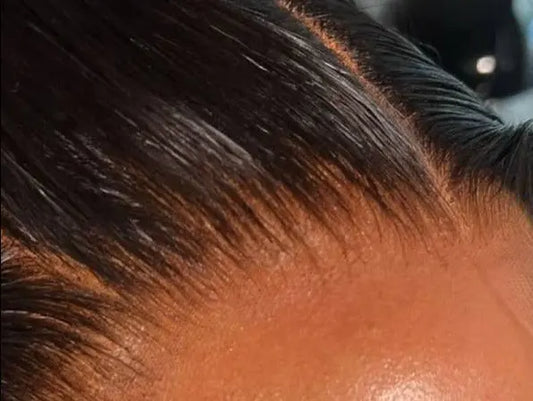
Because I was using the bundles for a leave-out sew-in, I kept the roots darker so the install could blend naturally into my own hair at the top. This is one of the best tricks for realism — it reads as intentional and makes the overall colour look more believable.
Bronde Recipe (Schwarzkopf BlondMe)
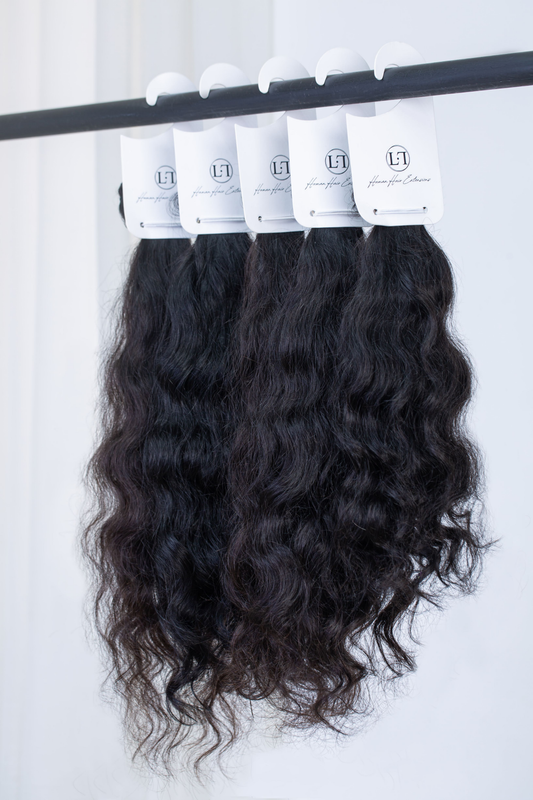
Starting hair
- 2 × 16” Vietnamese raw hair bundles
Goal
- Bronde (blonde + brown)
- Dark roots for leave-out blend
Products used (Schwarzkopf)
- Schwarzkopf Professional BlondMe Premium Lightener 9+
- Schwarzkopf BlondMe Oil Developer 12% (40 Vol)
- Schwarzkopf BlondMe Blonde Lifting Sand
- Schwarzkopf BlondMe Deep Toning Permanent Hair Colour – Nougat
Aftercare
- Silicon Mix (deep conditioner)
Before You Start: Safety + Best Practice (Please Read)
These are professional-strength lightening products. If you’re not experienced with bleaching/toning, the safest route is working with a professional colourist.
If you’re doing this yourself:
- Strand test first (always)
- Follow the manufacturer’s instructions for mixing ratios and processing times
- Work in sections for even saturation
- Don’t “rush” lifting — slow and controlled is what protects the hair’s finish
Step-by-Step: How We Achieved Bronde
Step 1: Lift to Level 9
This is where most bronde attempts go wrong. Bronde needs a clean lift, otherwise you’re toning over uneven warmth and it turns muddy.
What we did:
- Sectioned the bundles for control
- Applied lightener mid-lengths to ends
- Lifted to Level 9
- Left the roots dark (for leave-out blend + natural melt)
Why leaving the root dark matters:
It helps the install blend into your natural hair at the top, and it keeps the final look from feeling “overdone.”
Tip: If you want an even more natural finish, keep the root shadow soft and slightly diffused instead of a hard line.
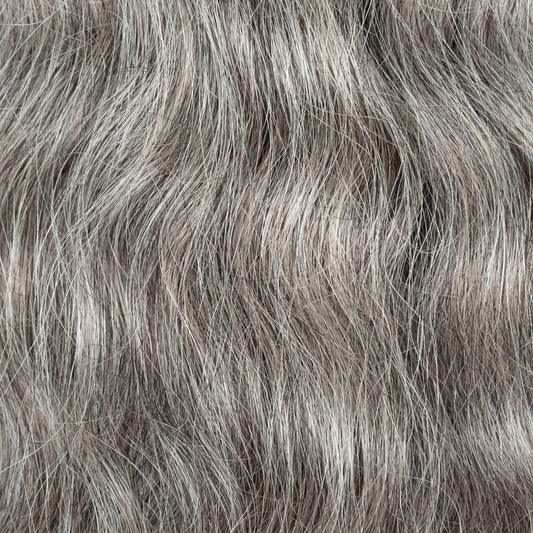
Step 2: Tone to Create Bronde Dimension
This is the part that makes bronde look expensive.
We used two toning tones so the hair wouldn’t look one-dimensional:
- Sand for the blonde tone
- Nougat for the soft brown tone
What we did:
- Applied Sand to build the blonde tones
- Applied Nougat to build the warm brown tones
- Blended the tones so it melts together (not stripey)
This is how you get bronde that looks like it belongs on the hair — rather than colour sitting on top of the hair.
Step 3: Revive the Hair (Deep Condition)
After lifting and toning, we deep conditioned using Silicon Mix to bring the hair back to that soft, healthy finish.
What we did:
- Saturated the hair with Silicon Mix
- Let it sit long enough to soften and restore the hair’s feel
- Rinsed and air-dried
My “top secret” method (with a safer alternative)
I sometimes saturate the hair in conditioner, place it in a plastic bag, and warm it very briefly (30seconds) in the microwave so it penetrates better.
Important safety note: microwaves can overheat quickly and unevenly. If you try this, do it at your own risk, keep it extremely brief, and monitor continuously.
Safer alternative:
- Put the bagged hair in a bowl of warm water for a few minutes, or
- Use a heat cap / warm towel wrap to help the conditioner penetrate.
Keeping Bronde Looking Fresh (Aftercare Tips)
Bronde is beautiful, but like any colour, it needs care to stay soft and rich.
Do this:
- Use light products (avoid heavy build-up)
- Detangle gently (start from ends upward)
- Sleep with protection (bonnet/scarf/silk pillowcase)
- Keep heat styling intentional (and always use heat protection)
Avoid this:
- Over-washing (it fades tone faster)
- Piling on too many oils/creams (can dull shine)
- Rough brushing when dry (especially post-colour)
If you want the full routine (wash day, detangling, styling, night care), our Aftercare page is the best place to bookmark.
FAQs
Can raw hair be coloured more than once?
Yes — when the hair is truly raw and properly cared for, it handles restyling better than processed hair. Just be mindful that repeated lifting/toning can still stress any hair.
How many bundles do I need for a leave-out sew-in?
Many people use 2–3 bundles, depending on length and desired fullness. For an event look, fuller density often photographs better — but you still want movement.
Why does bronde sometimes look “flat”?
Usually because the lift wasn’t clean or because only one tone was used. Bronde needs dimension (at least two tonal directions).
Want This Look as Your Next Hairstyle?
If you’re planning a wedding, birthday, holiday or “camera day,” raw hair is one of the best investments you can make — especially if you love colour and versatility.
If you’d like, share your desired finish (sleek, soft glam, bronde, etc.) and we’ll point you to the best lengths and bundle count.