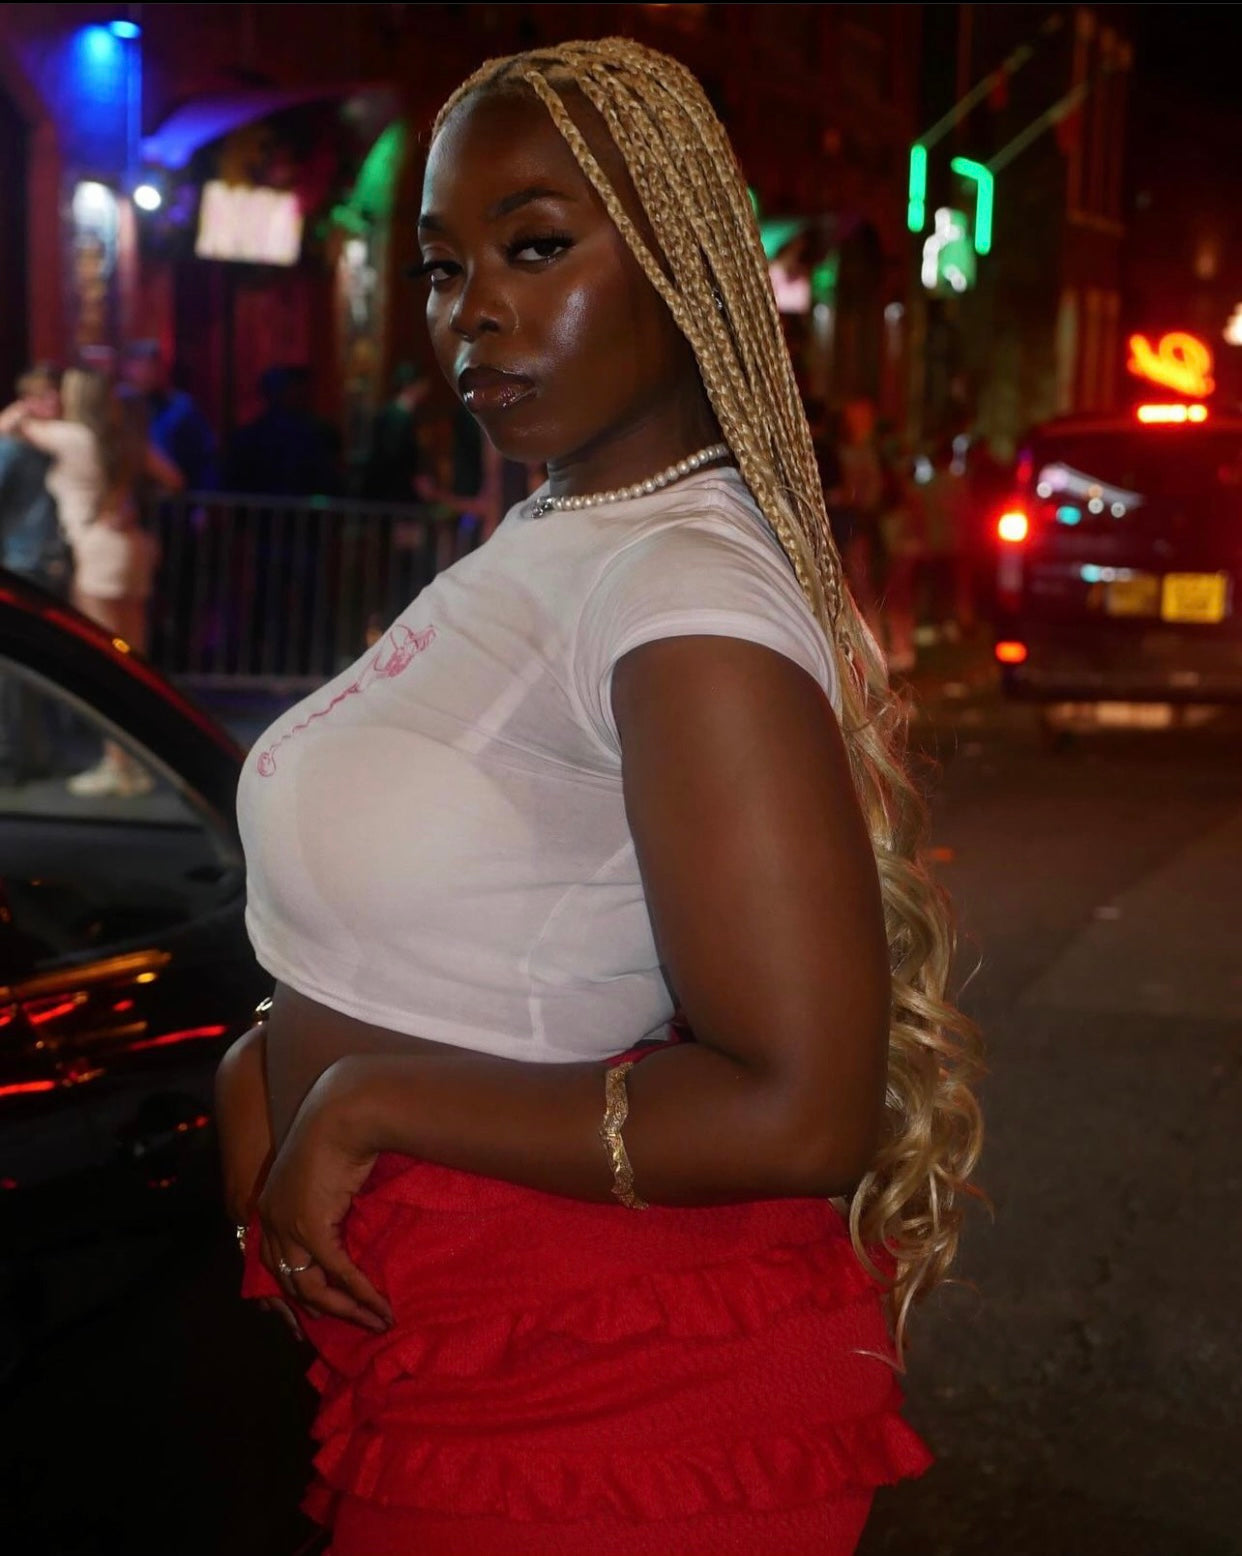
French Curl Braiding Hair: Aftercare & Styling Guide
French curl braids are a timeless and versatile protective style that blend effortless beauty with practical hair care. Known for their silky-smooth texture and defined curls, these braids begin as traditional plaits at the root and transition into luxurious, free-flowing curls at the ends—perfect for both polished looks and laid-back styling.
Whether you’re letting your curls flow for a special occasion or pulling them up for a chic daytime look, our French curl extensions offer a flawless, protective finish that’s as beautiful as it is functional. With the right aftercare, this style can maintain its bounce, sheen, and definition for weeks.

How to Install French Curl Braiding Hair: Step-by-Step Guide
Installing your LopeLocks French Curl Braiding Hair is a simple process that delivers a soft, elegant look with long-lasting curls. Follow these steps to get the best results:
Step 1: Get Your Tools Ready
Here’s what you’ll need to get started:
- LopeLocks French Curl Braiding Hair
- Rat-tail comb
- Hair clips/bands
- Edge control or braiding gel
- Moisturising cream or leave-in conditioner
- Scissors (for trimming flyaways)
- Curling mousse (for shine and definition)
- Braid sealant glue (optional for end sealing)
- Braiding hair separating stand i.e. spool thread rack
Step 2: Prep Your Hair
Start with clean, dry, and detangled hair. Apply a moisturiser or leave-in conditioner to keep your hair hydrated throughout the braiding process.
🔔 Important: Avoid oiling your scalp before braiding. Oils can interfere with the hold of braiding gel. Instead, apply any scalp oils or treatments after your braids are complete for the best results.
Step 3: Section Your Hair
Use a rat-tail comb to part your hair into neat sections. The size of each part depends on your preferred braid thickness—small for a fuller look, medium for a classic finish.
Clip away any hair you’re not working with to stay organised.For extra grip and neatness, apply a small amount of braiding gel around your roots and edges.
Step 4: Braid and Feed In
- Take a section of hair and divide it into three equal parts.
- Begin braiding by crossing the strands as you would with a traditional braid.
- Gradually feed in the French Curl extensions, ensuring the curly ends remain loose and unbraided for the signature look.
- Continue braiding to your desired length, stopping just before the curly ends.
Step 5: Secure the Ends
To seal your braids:
- Twist and knot the ends using 2–3 strands, wrapping them 4–5 times,
or - use braid sealant glue for a clean finish.
Then, trim any uneven or knotted ends with scissors.
Important:Do not seal this hair with hot water—it will damage the curls.
Step 6: Define and Finish
Once all braids are installed:
- Gently separate the curly ends with your fingers.
- curling mousse to smooth frizz and enhance shine.
- cut away all knots and trim ends for a clean finish
Step 7: Style & Maintain
Get creative—French curl braids can be worn down, in a high ponytail, bun, bob, or half-up styles.
If refreshing curls/straightening:
- curling wand or straightener on the lowest heat setting only.
- Avoid high temperatures to protect the curl quality.
For nighttime:
- satin bonnet or use a satin pillowcase to maintain your style.
How to Keep Your French Curl Braids Looking Fresh
Proper aftercare is key to preserving the beauty and longevity of your French Curl braids. Here are our top tips to help you maintain your style:
- Hydrate Regularly: Lightly mist your braids and scalp with a leave-in conditioner or hydrating braid spray to prevent dryness and keep the curls nourished.
- Protect at Night: Use a satin bonnet or pillowcase while sleeping to reduce friction, prevent frizz, and maintain curl definition.
- Style with Care: Avoid tight or harsh styling. Use soft hair ties and avoid heavy manipulation to prevent pulling or tension on your scalp.
- Avoid Excessive Heat: Our French Curl braiding hair should not be dipped in hot water. If needed, use a curling wand on the lowest heat setting to gently refresh the curls.
- Cleanse Gently: Use a lightweight scalp cleanser or dry shampoo between styles to keep your scalp clean without disturbing your braids.
- Define Curls: Use a curling mousse regularly to keep the curls smooth, shiny, and bouncy.
- Maintain Edges: Apply edge control or styling gel as needed to keep your hairline looking sleek and tidy.
Recommended Products for French Curl Braids
Using the right products is key to keeping your French Curl braids looking fresh, defined, and healthy. Here’s what we recommend:
Lightweight Leave-In Conditioner – Keeps your natural hair moisturized without weighing down the curls.
Hydrating Moisture Spray – Refreshes your braids and soothes your scalp between washes.
Edge Control Gel – Helps maintain sleek, tidy edges and a polished finish.
Satin or Silk Bonnet/Scarf – Reduces friction while sleeping to preserve your curls and prevent frizz.
Lightweight Hair Oil – Locks in moisture and adds shine without greasiness.
Low-Heat Curling Wand – Gently redefines curls if needed. Use on the lowest setting only.
Consistent care with these essentials will keep your braids looking flawless and fresh for longer!
